5 Essential Tips for Your Next Diamond Painting Project
Embarking on a diamond painting project is an exciting journey into the world of creativity and precision. Whether you're a seasoned enthusiast or a newcomer, certain strategies can make the experience even more enjoyable and rewarding. Here are five essential tips to elevate your next pintura de diamante project.
1. Choose the Right Kit
Before diving in, selecting a kit that matches your interest and skill level is crucial. For beginners, smaller designs with larger diamond pieces might be more manageable. Experienced crafters might seek the challenge of intricate patterns with a variety of colors. Always check the kit contents to ensure it includes all the necessary tools: canvas, resin diamonds, applicator pen, tray, and wax.
2. Organize Your Workspace
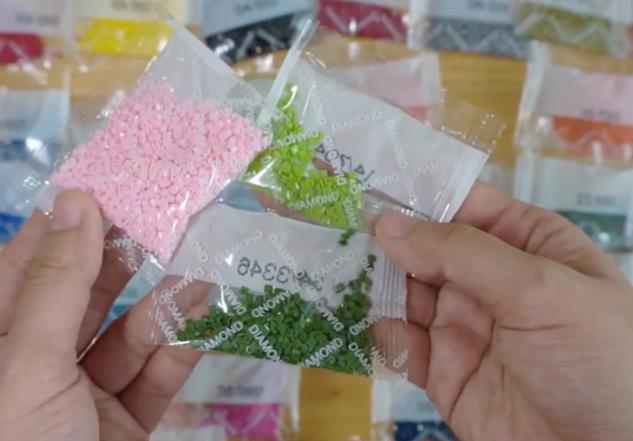
A clutter-free and well-lit workspace can significantly enhance your diamond painting experience. Good lighting is essential for distinguishing between colors and symbols on the canvas. Use small containers or zip-lock bags to organize your diamonds by color. A comfortable chair and a table at the right height will also prevent back and neck strain during those longer crafting sessions.
3. Start with a Plan
Approach your canvas with a strategy. Decide whether you'll complete the painting section by section or color by color. Both methods have their benefits: focusing on one color at a time can speed up the process, while working section by section helps reduce the risk of the adhesive drying out. Cover the parts of the canvas you're not working on to keep them clean and sticky.
4. Master the Diamond Placement
Precision is key in diamond painting. Use the applicator pen to pick up each diamond by pressing it into the wax, then gently place it onto its corresponding symbol on the canvas. Aim to place the diamonds as close to each other as possible to avoid gaps and achieve a uniform and sparkling finish. If you make a mistake, gently use tweezers to correct the placement.
5. Seal and Display Your Artwork
After completing your masterpiece, consider sealing it with a sealant spray or mod podge to lock the diamonds in place and enhance the painting's durability. Choose a display location away from direct sunlight to prevent fading. Framing your diamond painting can provide a polished look and protect it for years to come.
Wrapping Up
Diamond painting is not just about creating art; it's about enjoying the process and seeing your efforts crystallize into something beautiful. By following these tips, you can ensure that your next pintura de diamante project is not only successful but also a truly enjoyable and fulfilling experience. Remember, every diamond placed is a step closer to unveiling a dazzling piece of artwork that reflects your dedication and creativity.